Sunday, March 2, 2014

Day 7- An Applique Adventure

3/2/14

I'd been saying for a few days now: "tomorrow I'll do a garment." Today is finally tomorrow.

I wanted to get back to some of the applique I experimented with on the first day so I chose a thick jersey that wouldn't need much tailoring to make a pencil skirt and allow me to focus on the applique.


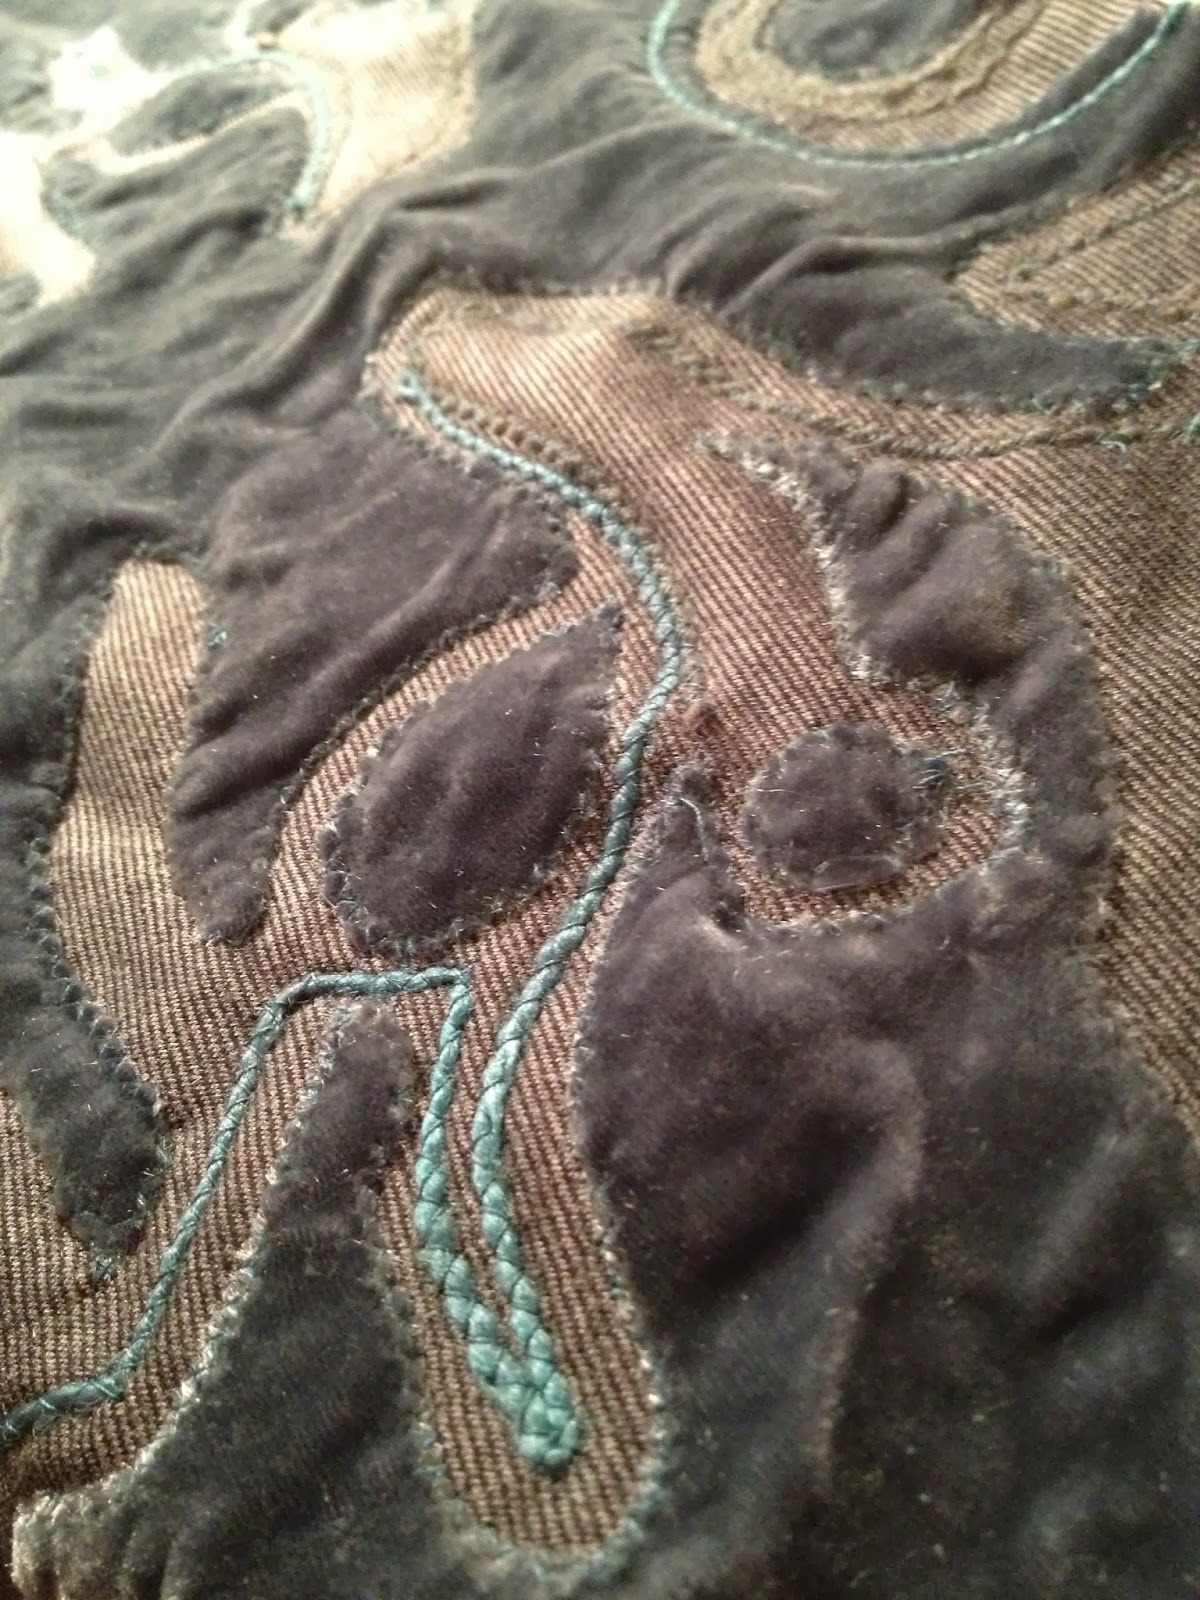
I pulled out a dusty teal silk velvet from my Parsons senior thesis and resumed the paper cutting technique for an applique pattern that I used on Day 1. Between the colors and the shapes, I wanted a sort of dark forest feel. 

Because velvet sheds so much and silk is a fidgety fabric, the applique was a major challenge to apply and I actually almost quit in the middle. After adjusting the width of the zigzag stitch on my machine several times I found a setting that made it easier. 


After all the velvet was applied I wanted to embroider some of the hand dyed yarns I had originally bought to match the velvet. I considered a binding stitch on the edge of the velvet, but decided to attempt a technique I had been thinking about: a zigzag stitch over yarn. It worked perfectly. I'm thrilled with the result and will definitely try that again on another project. 


I used both a grey wool yarn to match the jersey and the hand dyed teal yarn that is a silk/wool blend. I inserted a lining in the same grey jersey (thick jersey lining = amazing control top!) and a velvet waistband that is jersey on the back so it stays stretchy enough not to need a zipper. 

Grey pencil skirt: Cotton/poly blend jersey with silk velvet applique and wool and silk yarn embroidery
Eunice is a wonderful model.

Really love the way the applique came out. Going to keep working these techniques! The potential for texture and dimensional quality is excellent.

Take a minute and find the poll on the upper right corner of the page to choose what material I'll be working with next! 

xo,
Arielle 

Day 6- The Brown Paper Bag

3/1/14

Tonight I played with Kraft paper, one of the many rolls I bought in my excitement to start this project but that I hadn't even opened yet. Last night I got into a conversation about brown paper bag lunches which made me think about making a brown paper bag... On my Day 1 post I mentioned the idea of stitching on paper; an idea I saw at the Museum of American Folk Art in the gift shop there. I decided on a scalloped motif for the piece and got out my pinking shears to give it a lacier effect.

I started cutting brown paper strips and giving them a scalloped edge, and then stitching along the inside of the scallop. Next time I stitch into Kraft paper I will try white thread; I think it would look really sharp. I pulled out a Tiffany's ad from an old magazine and cut scalloped strips from the blue color too.


Different stitch patterns on the paper strips


To give it a little glam and dimension, I added long glass tube beads on the brown paper strips. I glued them to hold them in place while I hand stitched them on. I realized too late that I didn't make the strips wide enough because after I stitched it all down it ended up being more of a square shape and I had really wanted a long rectangular shape.
Tube beading on the Kraft Paper


I decided to fill out the sides with some perpendicular strips and use the original piece as a front pocket. I lined the inside with a very stiff interfacing covered in more Kraft paper, and I closed up the sides with triangular pieces of paper. The bag is sturdy enough to stand on its own and is very structured on the bottom. The front pocket is about 7 inches wide.

Brown Paper Bag: Kraft paper, magazine paper, gold tube beads


Some ideas for next time around:
1. Mixing the Kraft paper with some tracing paper or plain papers of different qualities
2. Spray painting, hand painting, or dyeing the paper
3. Using a hole punch or an awl to make a decorative lace effect.

Any ideas for different materials to try?

xo,
Arielle

Friday, February 28, 2014

Day 5- A Striped Strap Cuff

2/28/14

It's Friday and I only had about two hours to do my piece today. I spent about an hour of that messing around with some random materials and not getting anywhere. I decided to play it safe and do a simple piece with one of my favorite ribbon/strap materials in a red/navy combo. I was going to cover a cuff I had with it, but I realized that two pieces sewn together would be thick enough to be very sturdy on its own. 


I began by embroidering a piece of matching red yarn down either side of the center stripe with navy thread to give the piece some dimension. I put a stitch every 1/3" along the yarn. 


I sewed another piece of the ribbon against the side of the first piece. It's easy to work with because it doesn't fray on the sides and I can just stitch them with a zigzag stitch between the two panels. I cut a piece of thick interfacing 1/2" smaller than the ribbon to put on the inside to give it more bulk. I sewed the cuff together at the back and then did another zigzag stitch at the bottom of the ribbons to seal the bottom. 


It needed a little something extra so I made a pompom with the same red thread, split it and trimmed it into a rounded bow shape, and stitched it to the front with a large X stitch in the navy thread. 


Navy and Red Cuff: ribbon, interfacing, yarn


It has a nautical feel to it. I think it would be interesting to use the ribbon to make cuffs on a shirt or maybe even a collar. 
Have a great weekend!

xo
Arielle

PS- I've changed the layout of the blog to allow for subscription by email or following on Google+. Keep in touch!

Thursday, February 27, 2014

Day 4- Fun Fur is Moderately Fun and Definitely Furry

2/27/14

I set out today to take the ugliest material I could found in my apartment and make it fashionable. Lucky for me, I found a fabulous ball of Fun Fur in a red-orange-purple combo. I believe the Fun Fur was given to me as a joke by my cousin several years ago.

In case you're not sure what Fun Fur is:

It's ugly. 


I started to crochet the yarn but after about 20 stitches got frustrated with how difficult it was to keep track of my stitches amongst the fur. I pulled out my loom and started to apply the yarn as the warp. I played with a few different ribbons in the weaving but rejected them all. Everything looked absurd. I realized there were only two ways to go: cover up the shameful Fun Fur or go totally crazy with it. I decided to make two very easy pouches today experimenting with both.


Because the yarn is 100% polyester, I was certain it would melt if ironed enough. So I ironed away at the yarn on the loom, and backed it with fusible. I put a few stitches in the end to keep it together long enough to get it off the loom and I cut the piece in half; one for each pouch.


Semi-melted Fun Fur, backed with interfacing


The subdued piece was going to be very simple. I wanted to cover the Fun Fur with chiffon or something that would be sheer but calm it down, but I found a great lace I purchased on a whim a few months ago. I'm not a huge fan of black lace over color because sometimes it comes off as tacky, but the nature of the project was tacky to I went for it anyway. Turns out the tacky canceled itself out. Fantastic.

For my wild piece I knew I wanted the Fun Fur to be exposed but I wanted to make sure the half melted remains didn't come apart during construction. I fell back on an old technique of mine: rows of stitching 1/3" apart. I used a heavyweight navy blue thread (Although in retrospect I might have benefited from a lighter color that blended better) and the back and forth stitching gave the texture a vague chevron effect. I thought the resulting piece looked like an Impressionist interpretation of Fun Fur.


1/3" Stitches

Wild vs. Mild
I chose a navy wool felt to border the Fun Fur and construct the pouch. I cut a rounded rectangle shape and inserted and stitched the Fur fabric in place. I played with some border ideas including beading, but decided to make use of some small crocheted flowers I'd been holding onto for a while.


Both of the pouches still require zippers (must go to the trim store next week!), and the Wild version is meant to fold over. I added more Fun Fur to the flowers because they needed some vibrancy and to blend in a bit better.
While I do think both end pieces are interesting and I enjoyed making the fabric, I think Fun Fur may be more trouble than its worth. Because it's not worth much.

Fun Fur fabric covered in black polyester lace 

Navy wool felt foldover pouch with Fun Fur insert and crocheted cotton flowers 

xo,
Arielle


Wednesday, February 26, 2014

Day 3- The Curious Heart Obsession

2/26/14

I don't know why but lately I've been feeling like putting hearts on things. (I mentioned this in my "Poetry and Clutches" post.) Today I decided just to go for it and put a heart smack in the middle of something. In rhinestones. Iridescent rhinestones. I blame it on the migraine.

I was cleaning up today and found one of the ugliest gold boxes that a piece of junk jewelry came in. Actually, I only found the bottom. Although I threw initially threw it away, later in the day I realized it would make the perfect base to cover to make a small clutch.


I started with one of my favorites in the fabric stack, a navy blue fabric with red and white plaid. I got it set up to embroider and considered appliqueing a heart and then beading it when I came across a selection of rhinestone chains. Definitely leftover materials from a project for someone else. I am really not into rhinestones, but something about the high-low quality of the cotton plain juxtaposed with the rhinestones agreed with my project. I knew I was headed for a heart shape, so I stitched each rhinestone down, being careful to line up the shape with the plaid. I added gold painted tube beads to give it a little edge and to keep it from being too precious.


(During this time a friend came over and needed to borrow my iPad for a business trip, and was concerned that it had no case, so I stitched him up a project-of-the-day themed pouch to keep it cozy.)

Project of the day 3.5
Back to the clutch. I padded the box with a thick knit fabric and covered it with the plaid fabric. The construction became complicated when I started the zipper. I had to sew corners into one side of the zipper and leave the other side flat to wrap around the box. I may have to go in and replace the zipper with a smaller one in the future, as it wraps too far around the clutch. I sewed the entire zipper to the back panel by hand with thick thread. I also need to start applying my linings better. I tend to work as I go, and those sort of things need to be planned in advance.


I used twill tape and leather to line the piece which is structured like a very tiny suitcase. It's just large enough to fit a phone and a lipstick, and maybe one or two small items.

Plaid Heart Clutch; cotton exterior, rhinestone chain, glass beads, leather lining, twill tape

Inside view


I love the simplicity of today's piece and the iconography of the heart shape. I'm still obsessed with the plaid fabric. I also like the hard case-like structure of the clutch. 

Some thoughts from today's project:
1. Wow, I'm really feeling the rhinestones more than I care to admit. They will probably pop up in a few more projects in the next few days.
2. I want to make a beaded plaid fabric to make the plaid three-dimensional.

Any applique or beading shape ideas?

xo (<3)
Arielle