Wednesday, March 12, 2014

Day 16- A Bag of Braids

3/12/14

Today started with a large hide of leather and the idea to make a bunch of tiny braids but little idea of where I would go from there. This seems to be they way things are with this project. It's freeing because the piece can really go anywhere, but it ends up being very time consuming because I try a million things on the way to making it work. Today's piece could have benefited from better planning especially about the amount of leather because I ended up having to make the back of the bag out of a different fabric. If I make the piece again it will be much smoother.

I cut lots of little strips from the leather about 14" long and braided them. I experimented with different braiding techniques and even braiding the braids, but I ended up just sewing them to the leather in an over-under pattern to give it some more texture. 


Attempts to braid the braids for a more interesting effect. Could've been great but they weren't long enough.
The crisscross effect I ended up with utilizing both the finished and suede sides of the leather.


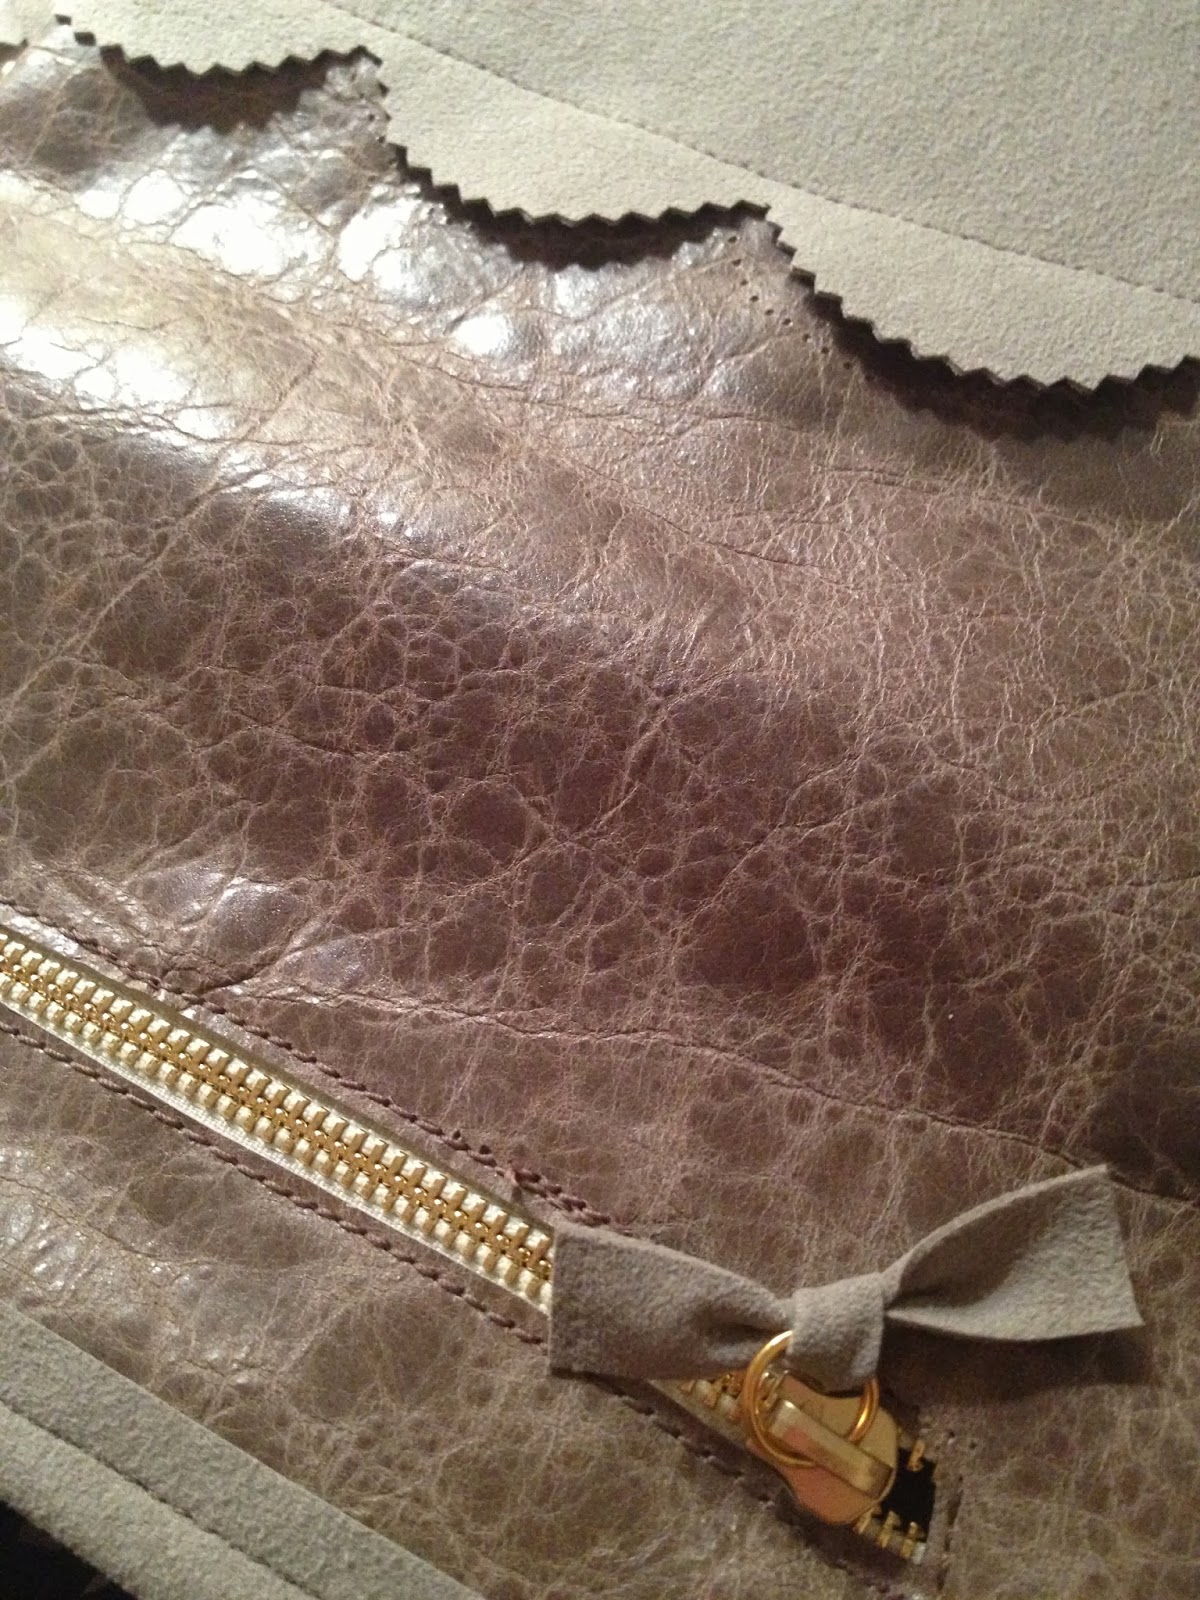
After the braids were done I stitched them to a piece of matching leather, and covered the edges with a frame of leather. That's something I definitely would do differently next time. The braids are very thick and difficult to sew through. There is definitely an easier way of constructing the piece that is less hazardous to my sewing machine.


The braided portion is tucked into a mitered frame of leather for neatness.
A peek at the inside material.


I used an undyed linen as the lining and the strap of the bag. The strap makes it a shoulder bag but it tucks in as well. I actually think this piece would be really cute as a backpack!


Shoulder Bag. Leather, Linen
I'm utterly exhausted today. Looking forward to a more lively tomorrow!
xo,
Arielle

Tuesday, March 11, 2014

Day 15- Just Gotta Have Another Leather Bag

3/11/14

There are so many beautiful pieces of leather in my newly organized stack of materials. So far for Create30 I haven't used much leather, so decided to sort through and chose one of my favorites: a taupe piece that is very textural and has a variegated dark/light finish. I paired it with a piece of light grey Ultrasuede and planned to make a small tote bag, but the piece ended up working well as a foldover clutch.


I cut the Ultrasuede to be the base of the bag using pinking shears and made a scalloped edge. After several attempts to sew along the edge I conceded that it was never going to come out even, and opted to stitch a straight line across the Ultrasuede.


I inserted an ivory metal zipper with gold teeth towards the top of the front of the bag. The zipper was actually missing the pull, so I was happy for the opportunity to make my own from the Ultrasuede.


After inserting the zipper I stitched a piece of Ultrasuede across the top of the bag to close it, and use a small piece to make a tie for the zipper pull. I attached it with a large gold jump ring.


Foldover clutch, Leather, Ultrasuede


The finished piece ends up hiding the scalloped edge when folded over but I don't mind, it's a sweet little surprise when you unfold the bag.

I need to start planning my bags and clutches out ahead of time because the zippers and linings need to be put in first. During Create30 I find myself mostly designing as I go, responding to what works and going with it, so the practical aspects tend to get pushed to the end and do not come out as well. I'll definitely attempt a more well planned approach for my next handbag.

xo,
Arielle

PS- This item is now available for sale in my Etsy shop! https://www.etsy.com/shop/SalkinAccessories

Monday, March 10, 2014

Day 14- Made of Magazines

3/10/14

For my piece today I made some paper beads from magazine paper. See the accompanying DIY post on Making Paper Beads if you'd like to try making your own!

I started with magazine paper with some pinks and neutrals. I rolled paper beads in two sizes, but I only ended up using the ones that were about 1.25". To add a bit of glamour I lightly spray painted them gold. I love the effect on the beads because you can see the color and text through the paint but it gives them a great metallic sheen.


I flattened the beads with my fingers and threaded them onto Swarovski head pins. In order to thread the headpins I had to use a pin and needle to open up a hole through the bead. A small awl would be a convenient tool next time.


I used the headpins to affix the beads to two pieces of balsa wood. I filled in the spaces between the paper beads with gold tube beads.


I used the headpins to affix the beads to two pieces of balsa wood. I filled in the spaces between the paper beads with gold tube beads.

I knew I wanted to make a jewelry piece but I decided on a necklace because I was concerned with how delicate the piece would be on the wrist or hand. I thought it would be interesting as a piece that resembled a collar. I think it needs to sit closer to the neck so I may go back in a cut a piece out of the back and add a clasp.

To finish the piece I trimmed the headpins in the back and added another layer of balsa wood to strengthen it. I used an elastic cord with beads for the length of the necklace.


Necklace: Paper, Swarovski headpins, glass beads, elastic cord, balsa wood


I know it's been a lot of necklaces, I promise to change it up tomorrow! I am happy that this piece is very different than anything I've done so far.

xo,
Arielle

DIY for Day 14- Making Paper Beads

3/10/14

Paper beads are easy to make and a great way to use old colorful magazines for your projects.

I like to coordinate the colors of magazine pages that I use with my project. The best tend to be fashion magazines or anything with a lot of images. A page full of words can be fun too, especially if you'd like to paint the beads after making them. I like to use travel magazines for landscape colors, wedding magazines are great for pastels and neutrals, and you can usually get some good full pages of bright colors out of magazines like Real Simple.


Fold your sheet of magazine paper into segments as long as you'd like your beads to be. Cut from bottom right to top left corner of each strip. You can use a ruler and pen to get an exact line, but it doesn't matter if it's perfect so you can also do it by eye if you can get it close enough.


 Start by rolling the strip with the right side out on a small tool like a crochet hook or a small paintbrush. Two things to watch out for here: 1. Be careful not to pull it too tight or it will be very difficult to remove from the tool, and 2. Angle the strip slightly so the center of the triangle is lined up with the center of the bead.


Making sure the point of the triangle is lined up with the center of the bead
Once you have it wrapped twice around, apply a small amount of glue all the way down to the tip of the bead. You don't need to use much; the glue spreads out pretty evenly. You may have to add a small drop at the tip of the triangle if it doesn't stay down.

Wrap 2-3 times and then apply a small amount of glue


Roll the bead until it's complete. Remove from the tool, and if desired you can snip off and triangle points that are sticking out. Often, however, they aren't noticeable and it's not necessary.


When your beads are finished you can use them as is, spray them with a spray lacquer for more shine, spray paint them either completely or just a bit, or apply glue to the outside with a paintbrush and dip them in seed beads.

Paper beads lightly painted with gold spray paint


Have fun!
xo,
Arielle

Day 13- Crocheting On The Go

3/8/14

Please excuse the next two posts for being a little late; I was visiting Boston this weekend and had little time to type. I did bring my crocheting with me though, and did a lot of freestyle stitching.

Last night I began making small crocheted circles with an uncarded, undyed, and handspun yarn that I bought this summer for a few dollars from a woman spinning yarn on her porch in Lincoln, NM (Population 52. Actually.) That pretty much means that the yarn went directly from sheep to yarn without much treatment at all, and that you have to pick out the sticks and thorns from the yarn as you go. But it has its charm, of course.


I made a pile of circles only about 3 stitches deep, and stitched around them with a hand dyed yarn varied in color but that was mostly purple for the section I used. I crocheted all the pieces together to experiment with the shape, but even before I trimmed all the strings and finished it I didn't much like the shape.


I wanted the piece to be rounder and have the circles overlap more. I ended up adding a few more and stitching them together from the back. I made some smaller circles out of a finer yarn (the same one I used for Day 11's Chain Bib Necklace) and added them to the top of the center circles. 


I decided to use a few crystals for the center of the necklace to give it a little bit more bulk and some dimension. I used light amber and light grey crystals to blend. I added a twill tape tie to the back that can be tied at any length.


Necklace, untreated wool yarn, hand dyed wool/silk yarn, hand dyed wool yarn, Swarovski crystal, cotton twill tape
This piece is clearly very similar to Necklace with Concentric Circles  from Day 9, but I think would be less dressy. Something about unwashed wool just makes things casual, I guess.
Going to get today's piece up tomorrow and then I'll be back on track. 

xo,
Arielle


Friday, March 7, 2014

Day 12- Hopeful Spring Florals

3/7/14

I’m kind of hoping Spring is going to happen soon… I think I heard some birds chirping yesterday and it’s starting to be sunny.  Todays piece is an ode to Spring. Pink and floral and sparkly.  

I started with a black plastic cuff and wrapped it with a salmon pink grosgrain ribbon. I wrapped it all the way around and stitched it in place. 

Originally I started by crocheting multiple flowers in yarn to create an asymmetrical pattern, but it started to look really crafty so I started again. I made 3 layers for the flowers using different weight string and yarn and used vintage crystal beads to fill the center three.


I attached the flowers to the cuff and added a chain wrapped back and forth around each flower. I think this style would work well for a necklace or headband as well.


I'm on a crocheting kick at the moment so expect to see more of that soon. 

xo,
Arielle