Sunday, March 2, 2014

Day 7- An Applique Adventure

3/2/14

I'd been saying for a few days now: "tomorrow I'll do a garment." Today is finally tomorrow.

I wanted to get back to some of the applique I experimented with on the first day so I chose a thick jersey that wouldn't need much tailoring to make a pencil skirt and allow me to focus on the applique.


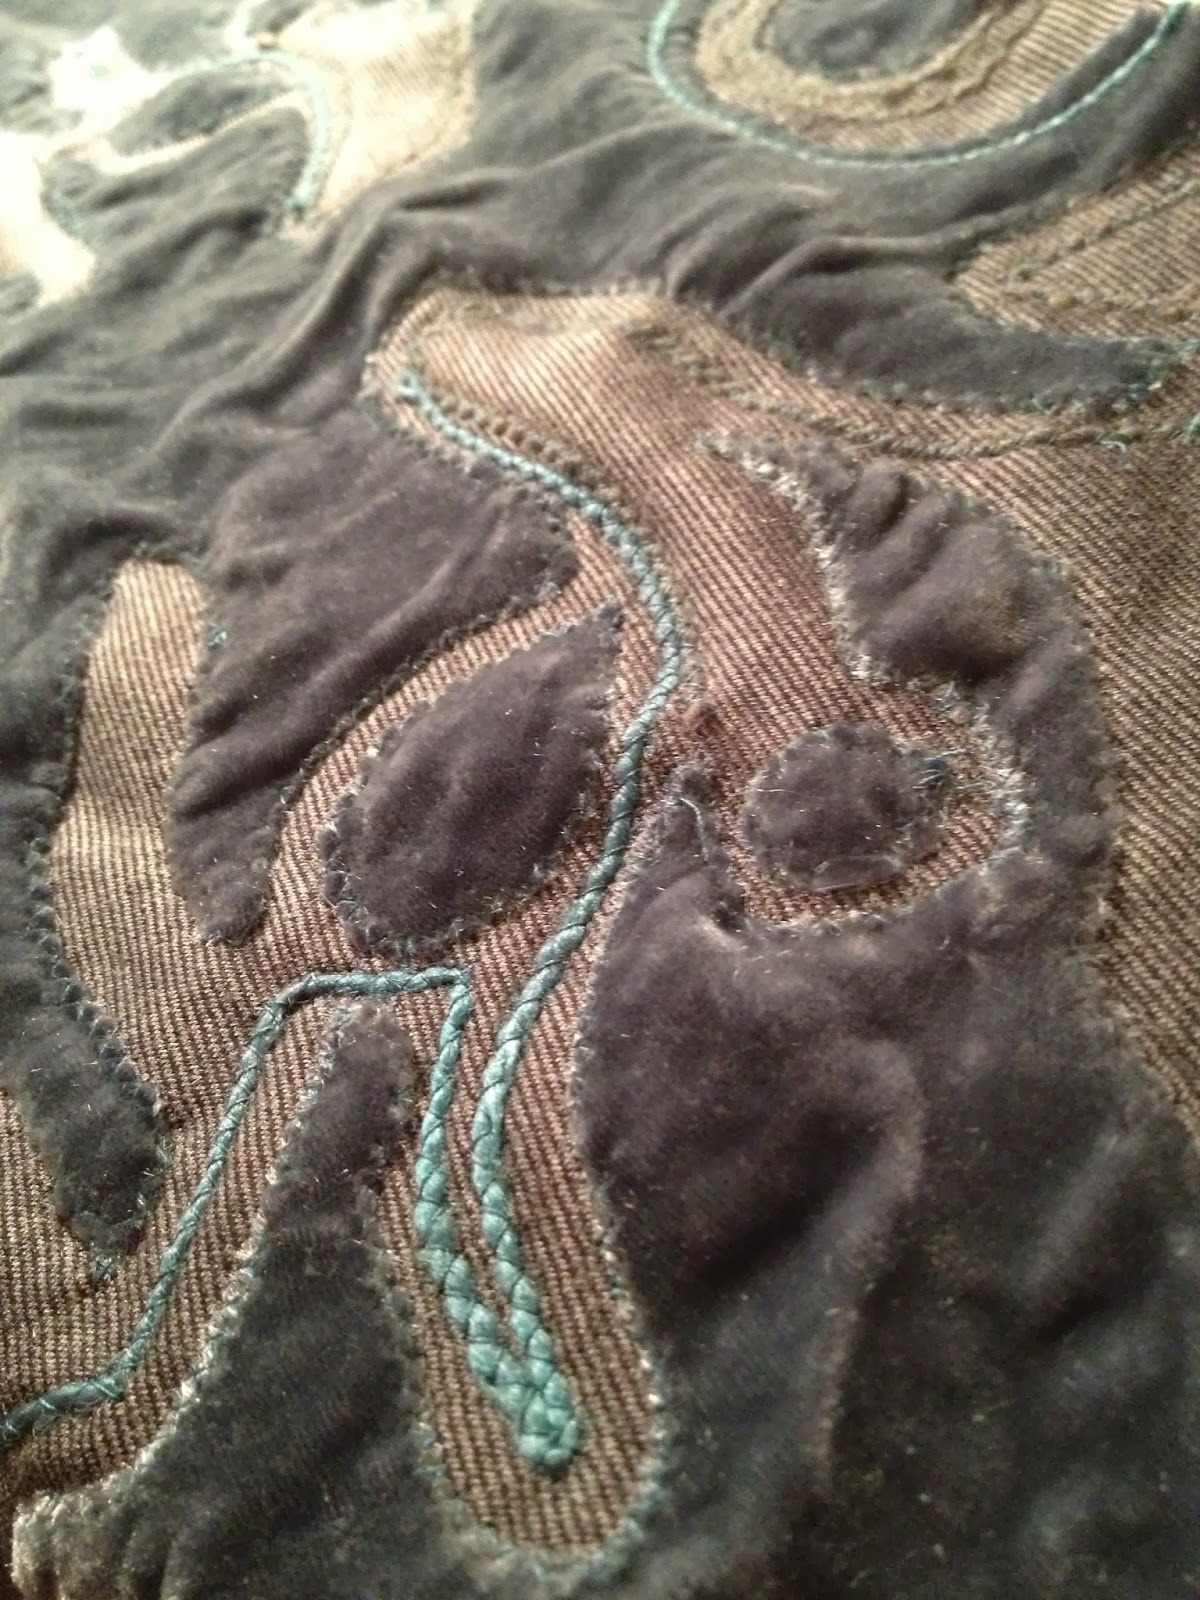
I pulled out a dusty teal silk velvet from my Parsons senior thesis and resumed the paper cutting technique for an applique pattern that I used on Day 1. Between the colors and the shapes, I wanted a sort of dark forest feel. 

Because velvet sheds so much and silk is a fidgety fabric, the applique was a major challenge to apply and I actually almost quit in the middle. After adjusting the width of the zigzag stitch on my machine several times I found a setting that made it easier. 


After all the velvet was applied I wanted to embroider some of the hand dyed yarns I had originally bought to match the velvet. I considered a binding stitch on the edge of the velvet, but decided to attempt a technique I had been thinking about: a zigzag stitch over yarn. It worked perfectly. I'm thrilled with the result and will definitely try that again on another project. 


I used both a grey wool yarn to match the jersey and the hand dyed teal yarn that is a silk/wool blend. I inserted a lining in the same grey jersey (thick jersey lining = amazing control top!) and a velvet waistband that is jersey on the back so it stays stretchy enough not to need a zipper. 

Grey pencil skirt: Cotton/poly blend jersey with silk velvet applique and wool and silk yarn embroidery
Eunice is a wonderful model.

Really love the way the applique came out. Going to keep working these techniques! The potential for texture and dimensional quality is excellent.

Take a minute and find the poll on the upper right corner of the page to choose what material I'll be working with next! 

xo,
Arielle 

Day 6- The Brown Paper Bag

3/1/14

Tonight I played with Kraft paper, one of the many rolls I bought in my excitement to start this project but that I hadn't even opened yet. Last night I got into a conversation about brown paper bag lunches which made me think about making a brown paper bag... On my Day 1 post I mentioned the idea of stitching on paper; an idea I saw at the Museum of American Folk Art in the gift shop there. I decided on a scalloped motif for the piece and got out my pinking shears to give it a lacier effect.

I started cutting brown paper strips and giving them a scalloped edge, and then stitching along the inside of the scallop. Next time I stitch into Kraft paper I will try white thread; I think it would look really sharp. I pulled out a Tiffany's ad from an old magazine and cut scalloped strips from the blue color too.


Different stitch patterns on the paper strips


To give it a little glam and dimension, I added long glass tube beads on the brown paper strips. I glued them to hold them in place while I hand stitched them on. I realized too late that I didn't make the strips wide enough because after I stitched it all down it ended up being more of a square shape and I had really wanted a long rectangular shape.
Tube beading on the Kraft Paper


I decided to fill out the sides with some perpendicular strips and use the original piece as a front pocket. I lined the inside with a very stiff interfacing covered in more Kraft paper, and I closed up the sides with triangular pieces of paper. The bag is sturdy enough to stand on its own and is very structured on the bottom. The front pocket is about 7 inches wide.

Brown Paper Bag: Kraft paper, magazine paper, gold tube beads


Some ideas for next time around:
1. Mixing the Kraft paper with some tracing paper or plain papers of different qualities
2. Spray painting, hand painting, or dyeing the paper
3. Using a hole punch or an awl to make a decorative lace effect.

Any ideas for different materials to try?

xo,
Arielle